Chef Stephanie Petersen's Convenience Dinners in a Jar Using Food Storage
Recipes and Instructions
Recently someone asked me to write down a few of my recipes for long term storage and what I do. I have a method that I like to use that isn't new, but it's was a little bit exciting when I heard it. I planned 7 meals, one for each night of the week and then figured getting 52 jars of each meal in my food storage to have on hand. In this way I would easily be able to have a year's supply of food that my family would eat should I need it. It sounds "simple stupid"...but sometimes that's how I roll. I've heard it done with jars of spaghetti sauce and pounds of noodle in a similar fashion. It's a good simple way to calculate a family's needs. It's also a good way to get back to the basics of what a normal family will eat. Without getting into a lot of canning details and crazy stuff here, I do want to say that I don't want to have to worry about canning meat or rotating cans of beans and vegetables. I've found that buying freeze dried vegetables and meats has been a much better approach for our family. The new technology available has even made it possible for beans to be "instant" cook! That being said, here are 7 of my favorite quart size jar recipes that are easily used for everyday or for long term emergency food storage. Enjoy. Share these recipes with your friend! Get the word out that they are here! PLEASE...make sure my name stays with the recipes. Thanks.

This is a great meal made completely out of food storage. It's amazing for camping or dinner any night of the week. It's perfect for giving to a sick neighbor or to someone you actually...like. I think my family likes it because the folks I cook for are down-home-raised-on-the-farm kind of people. They don't like a lot of green herbs and junk in their food (ironic isn't it?). Now and then I get "froofie" chef on them and roast some garlic or chop some tarragon, but for the most part it's "regular people" food. As for this meal, the crazy cool part is that it fits in a convenient size quart jar for easy food storage space and planning!
Chef Tess Country Style
Hamburger Stew
yield 12 one cup servings
in a quart jar:
1 cup THRIVE instant red beans
1 cup Honeyville freeze dried mixed vegetables
1 cup Honeyville freeze dried hamburger (or TVP beef)
1 Cup Honeyville dehydrated diced potatoes
¼ cup Honeyville dehydrated onions
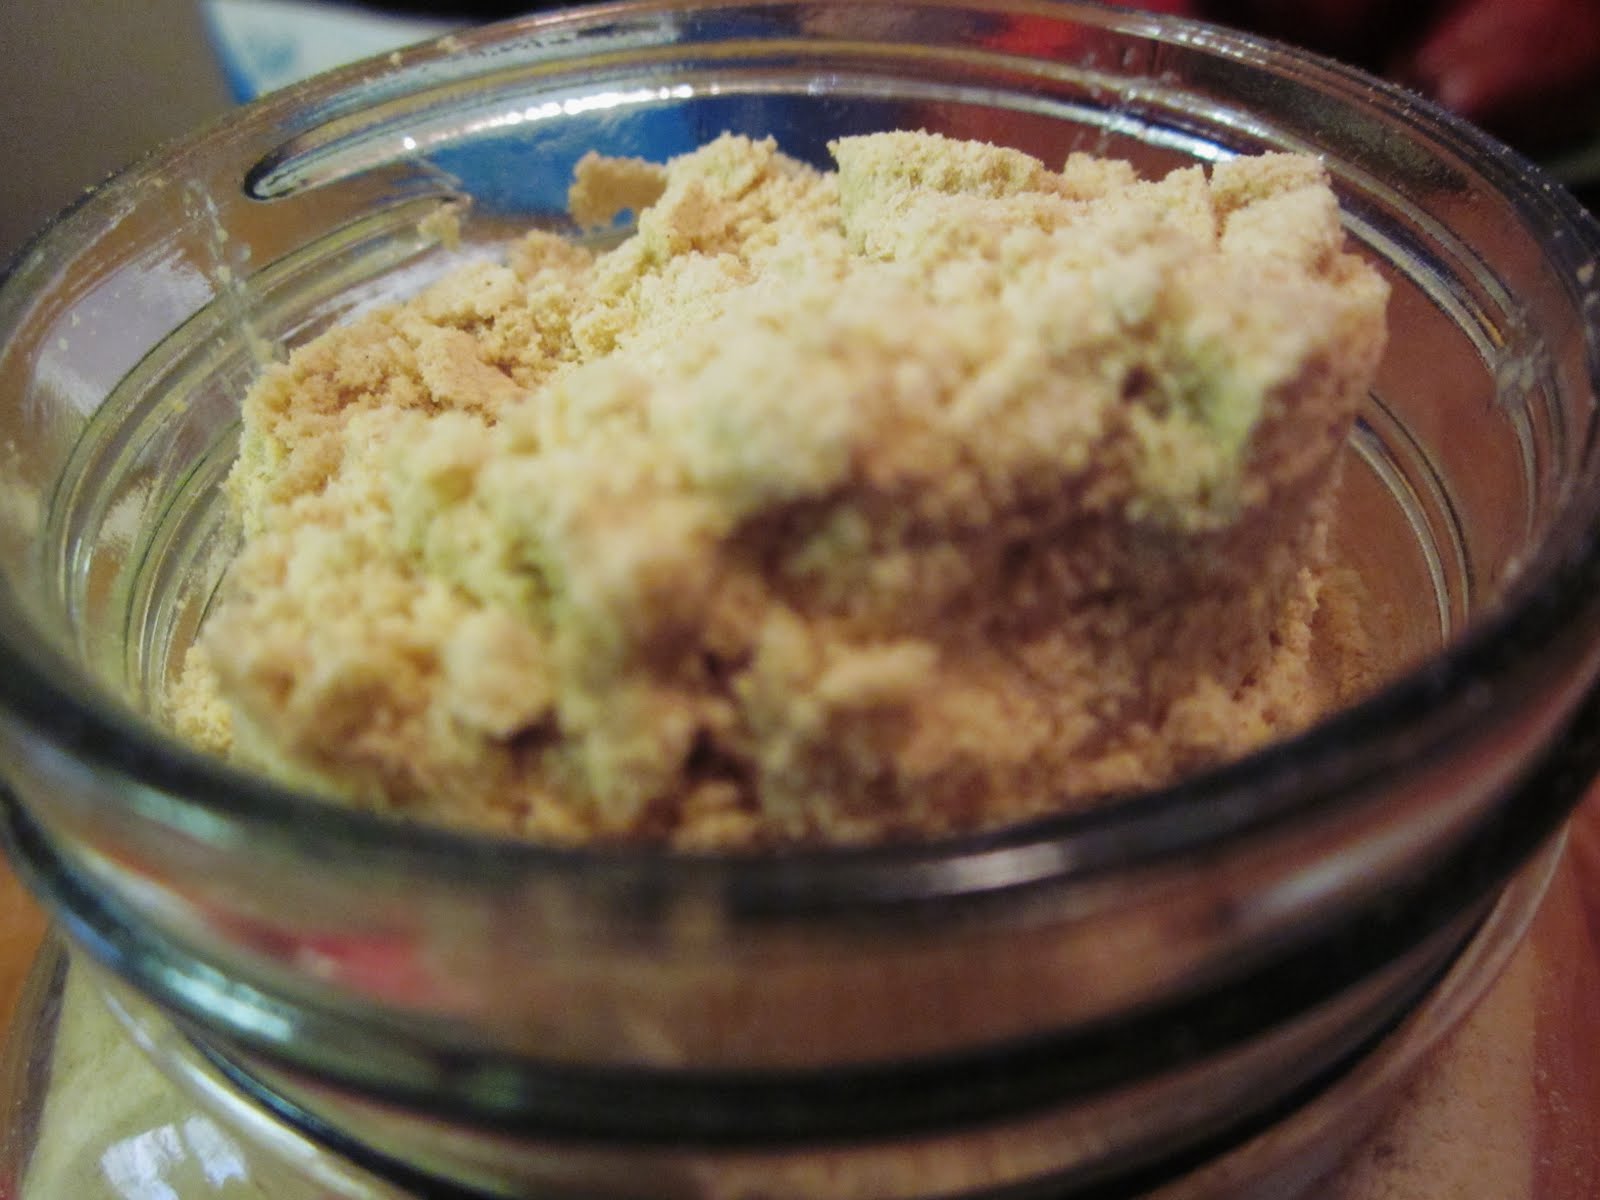
Seasonings I shake down into the jar: ½ cup tomato powder,
1 tsp thyme, 1 tsp garlic, ¼ cup flour, and 1 T beef bullion.
It will fit if you shake it really well.
To prepare Country Style Hamburger Stew:
In a gallon pot, combine stew mix with 6 cups water and bring to a boil.
Reduce heat and simmer 20-30 minutes.
Works great in a solar oven. Bake one hour.
Chef Tess Taco Soup
This is a recipe I made from an old classic for Taco soup. It's adapted using instant beans. Instead of taking hours to cook in a crock pot, it takes just about 20 minutes! I'm super excited about it! Can you tell?! It can fit conveniently in a quart size jar so it's perfect for food storage! Put a funnel on the mouth of a quart jar and measure as follows into the jar:
Chef Tess Taco Soup Mix
Add an oxygen packet. Seal. Good on the shelf in a cool place up to 5-7 years.
To prepare,Taco Soup: place contents of jar in a gallon pot in a solar oven or on the stove. Add 2 quarts of water and simmer 20-30 minutes until veggies are tender. Serve with nacho chips, sour cream and salsa if desired.
Chef Tess' Cheeseburger Skillet
Meal In A Jar Mix
Tess' Double Cheeseburger Sauce Mix Hamburger
yield: 10, 1 oz sauce mixes
2 1/2 cups Honeyville cheese sauce powder
1 1/2 tsp granulated garlic
1T granulated onion
2 tsp black pepper
1/2 tsp ground nutmeg
Bag Mix Directions:
Combine all ingredients well. Use 1 oz (1/4 cup mix) to 3 oz of macaroni noodles (about 2 cups).
I put the dry powder with the noodles in quart size storage bags with the label "cheeseburger helper".
Conventional Bag Mix preparation Directions: Brown one pound of hamburger in a large skillet. When hamburger is browned, I add 1 cup hot water and 1 1/2 cup milk or soy milk. Bring to a boil and cover. Simmer 8-10 minutes until noodles are tender. Sauce will thicken a little more as it cools.
In a quart jar:
2 cups elbow macaroni (7 oz)
¼ cup mix
(in a separate baggie in the jar)
1 ½ cups freeze dried hamburger or Beef TVP
Jar directions To prepare Cheeseburger Skillet Meal: Rehydrate meat with 1 ½ cups hot water, drain. Place in hot skillet. When hamburger is browned, I add 1 cup hot water and 1 1/2 cup milk or soy milk. Bring to a boil and cover. Simmer 8-10 minutes until noodles are tender. Sauce will thicken a little more as it cools.
Chef Tess Stroganoff
Skillet Meal
Chef Tess' Stroganoff Skillet Meal Gravy Mix
yield 7 mixes (with 1/3 cup gravy/seasoning mix)
1/2 cup powdered buttermilk
½ cup powdered sour cream
1 cup flour
1/2 cup dry minced onions
1T onion powder 1 T granulated garlic (or garlic powder) 1T dry parsley 1 tsp dry thyme 2 tsp black pepper 2T salt 1/2 tsp ground nutmeg
Combine all dry ingredients well. In a quart Jar
2 cups egg noodles
1/3 cup gravy mix
1/2 cup freeze dried mushrooms
In a separate bag in the jar,
1 ½ cup freeze dried Honeyville hamburger or beef TVP
To prepare Beef Stroganoff Skillet Meal:
1 cup water
2 cups milk (powdered is okay if you reconstitute it)
salt and pepper to taste
Directions:
In a bowl Rehydrate hamburger in 1 ½ cup hot water. Drain. Place in a skillet. Cook over high, and add gravy mix, noodles, water and milk. Simmer 8-10 minutes, stirring once or twice, but covering each time. When noodles are tender season with additional salt and pepper if needed.
Chef Tess' Cheese Turkey
Noodle Casserole
In a quart jar place 2 cups radiator noodles.
In a separate bag in the top of the jar put:
¼ cup freeze dried broccoli
½ cup freeze dried mixed vegetable mix
1 cup THRIVE freeze dried turkey
½ cup Honeyville cheese sauce powder
¼ cup freeze dried diced celery
1T freeze dried onion and 1 ½ tsp Chef Tess All Purpose seasoning
Put an oxygen packet in jar and seal.
Directions for Turkey Noodle Casserole: Carefully remove bag. Put contents of bag in a 2 quart sauce pan and bring to a boil. Boil 5 minutes. Cover and turn off heat. While sauce is cooking bring a gallon of water to a boil, cook pasta 10-12 minutes. When tender, drain. Stir into sauce mixture. Pour into casserole dish and top with additional cheese if desired.
Chef Tess Broccoli Cheese
and Rice Casserole in a Jar
In a Quart Jar fitted with a funnel:
2 cups long grain rice, ¼ cup dehydrated butter, 1 tsp salt (stir)
In a separate bag on top of rice:
¼ cup freeze dried celery
¼ cup freeze dried onion
1 cup freeze dried broccoli
1 tsp Chef Tess All Purpose Seasonings
½ cup Honeyville Cheese Sauce Powder
¼ cup dehydrated butter powder
Seal bag. Top with an oxygen absorber packet. Good for 10—12 years shelf life.
To Prepare Broccoli Cheese Rice Casserole:
Remove oxygen packet and discard. Open bag, carefully ease contents into a quart sauce pan and add 2 cups water. Bring to a boil and reduce heat. Simmer 5-6 minutes. Turn off heat and let sit 5-6 minutes. While sauce is cooking, place rice in a quart size pot with a tight fitting lid. Add 4 cups boiling water or chicken stock. Cook on lowest heat 17-20 minutes covered until rice is tender. Spoon broccoli cheese sauce over rice and enjoy.
Chef Tess Turkey Noodle
Skillet Meal
In a quart Jar fit with a funnel:
2 cups egg noodles
½ cup Honeyville freeze dried vegetable mix
1/3 cup cheese sauce powder
1/3 cup powdered milk
¼ cup dehydrated butter
1 cup freeze dried Turkey chunks
½ cup freeze dried mushroom slices
1 T dehydrated onions
1 tsp Chef Tess Romantic Italian Seasonings
To Prepare Turkey Noodle Skillet Meal:
In a large skillet, combine contents of jar with 3 ½ cups hot water over high heat and bring to a boil. Reduce heat and simmer 10-12 minutes stir every few minutes. Turn off heat and let sit 3-5 minutes
Would you like the online printable pdf version of this class? Go Here.


