I will be teaching a FREE class at Preparing Wisely on Thursday night at 6:30 in Mesa on these Convenience Meals in a Jar. This class is always well attended and in high demand, especially in light of recent emergency events that have happened around the world and the demand people have for good quality homemade meals. People prepare for family emergencies in different ways. Some prepare for an earthquake, fire or natural disaster. Some prepare for financially difficult times and unemployment. Some just prepare meals in advance so that mom or dad are not too entirely stressed out at the end of a hard work day. Whatever your reason for preparing convenience meals, this is a simple method of keeping track of what you have on hand and keeping it an organized location. This method is one anybody can use. I don't claim the method of planning a menu this way to be mine, I do however claim these recipes as ones I have developed through personal trial and error. We've heard it called a "year's supply" of food. Insuring that should anything catastrophic happen, your family will be fed.
Recently someone asked me to write down a few of my recipes for long term storage and what I recommended. I have a method that I like to recommended to those starting out on food storage use that isn't new, but it was a little bit exciting when I heard it. One plans 7 meals, one for each night of the week and then figured getting 52 of each meal. My method of containing each meal entirely in ONE jar is different than others who have planned the meal in a 52 week method, but didn't keep it this simple or concise. I wanted it all in one spot. In this way one would easily be able to have a year's supply of food that a family of four would eat should they need it. One wouldn't have to search through things to find the corresponding can of meat or sauce to go with the starch. It sounds "simple stupid"...but sometimes that's how I roll. It's a good simple way to calculate a family's needs. It's also a good way to get back to the basics of what a normal family will eat. Without getting into a lot of canning details and crazy stuff here, I do want to say that I don't want anyone to have to worry about canning meat or rotating cans of beans and vegetables. This gets into methods of pressure canning that some may not be prepared to practice proper rotation or sanitation while home canning. No they are not safe on the shelf longer than one year. PERIOD. (Please see Home Canning Safety 101 for specific details in this matter) If you would like the original 7 recipes I used, see this post: here .
Today I'm adding another casserole that has become a fast favorite here. I already posted one that's a cheesy turkey noodle casserole. While this one is similar, I realize that sometimes it's the comfort food we serve during times of distress...and I'm planning accordingly. That being said, this one is different in it's composition and flavor. It's a lot more creamy and has more vegetables.
In a quart Jar fit with a funnel:
1 3/4 cups wide egg noodles
½ cup Honeyville freeze dried vegetable mix
1 cup freeze dried chicken chunks
1/2 cup freeze dried peas
1/4 cup freeze dried mushroom slices
2 T dehydrated onions
1/3 cup powdered milk
1/3 cup powdered sour cream
¼ cup dehydrated butter
For long term 8-10 year storage, combine all ingredients in a sealed mason jar with an oxygen absorber packet. These will cause a vacuum seal. Note...it is important if you are doing these jars to open the freeze dried meat and bottle it again within a few hours. If you're worried about it or want a vegetarian alternative, you may use 1 1/2 cup Freeze Dried Zucchini instead of the chicken. You'll need to add 1 tsp no msg chicken bullion to the mix as well.
The chicken is really cool.
To Prepare:
In a casserole, combine the entire contents of the jar with 4 cups hot water. Let sit 5 minutes. Cover and bake in a solar oven at 350 degrees for 30-35 minutes. OR microwave in covered deep dish casserole for 15 minutes.
While the casserole is baking, I make bread crumb topping.
This is optional but adds a lot of texture and flavor. I prefer, when cooking with the solar oven to do the topping on a separate burner or if microwaving...cooking the topping on the stove to crisp it. This saves a lot of time and with the solar cooker, gets a crispy topping I can't normally get. I'm using homemade
9 grain ciabatta (if you missed that post it was freakin' fun!). Put a few pieces in a food processor or finely grind in a hand-powered processor.Mmm. Now that's a crumby job right there.
Put the crumbs in a hot skillet and stir until toasted. How easy is that?! Where you expecting rocket science?!
Remove casserole from the oven or microwave (especially important with microwave to let the casserole sit 10 minutes so it get's thick). Top with 4-5 slices of cheese. I use
homemade mozzarella cheese or you can also use freeze dried mozzarella from your food storage. Top with crumbs.Spread out the crumbs. Cover until cheese is melted.
Usually while the cheese is melting I saute some fresh green beans to go on the side...
Season them well and drizzle with olive oil...and waaahlaaaa! The casserole is now ready. Brace yourself for the reveal...
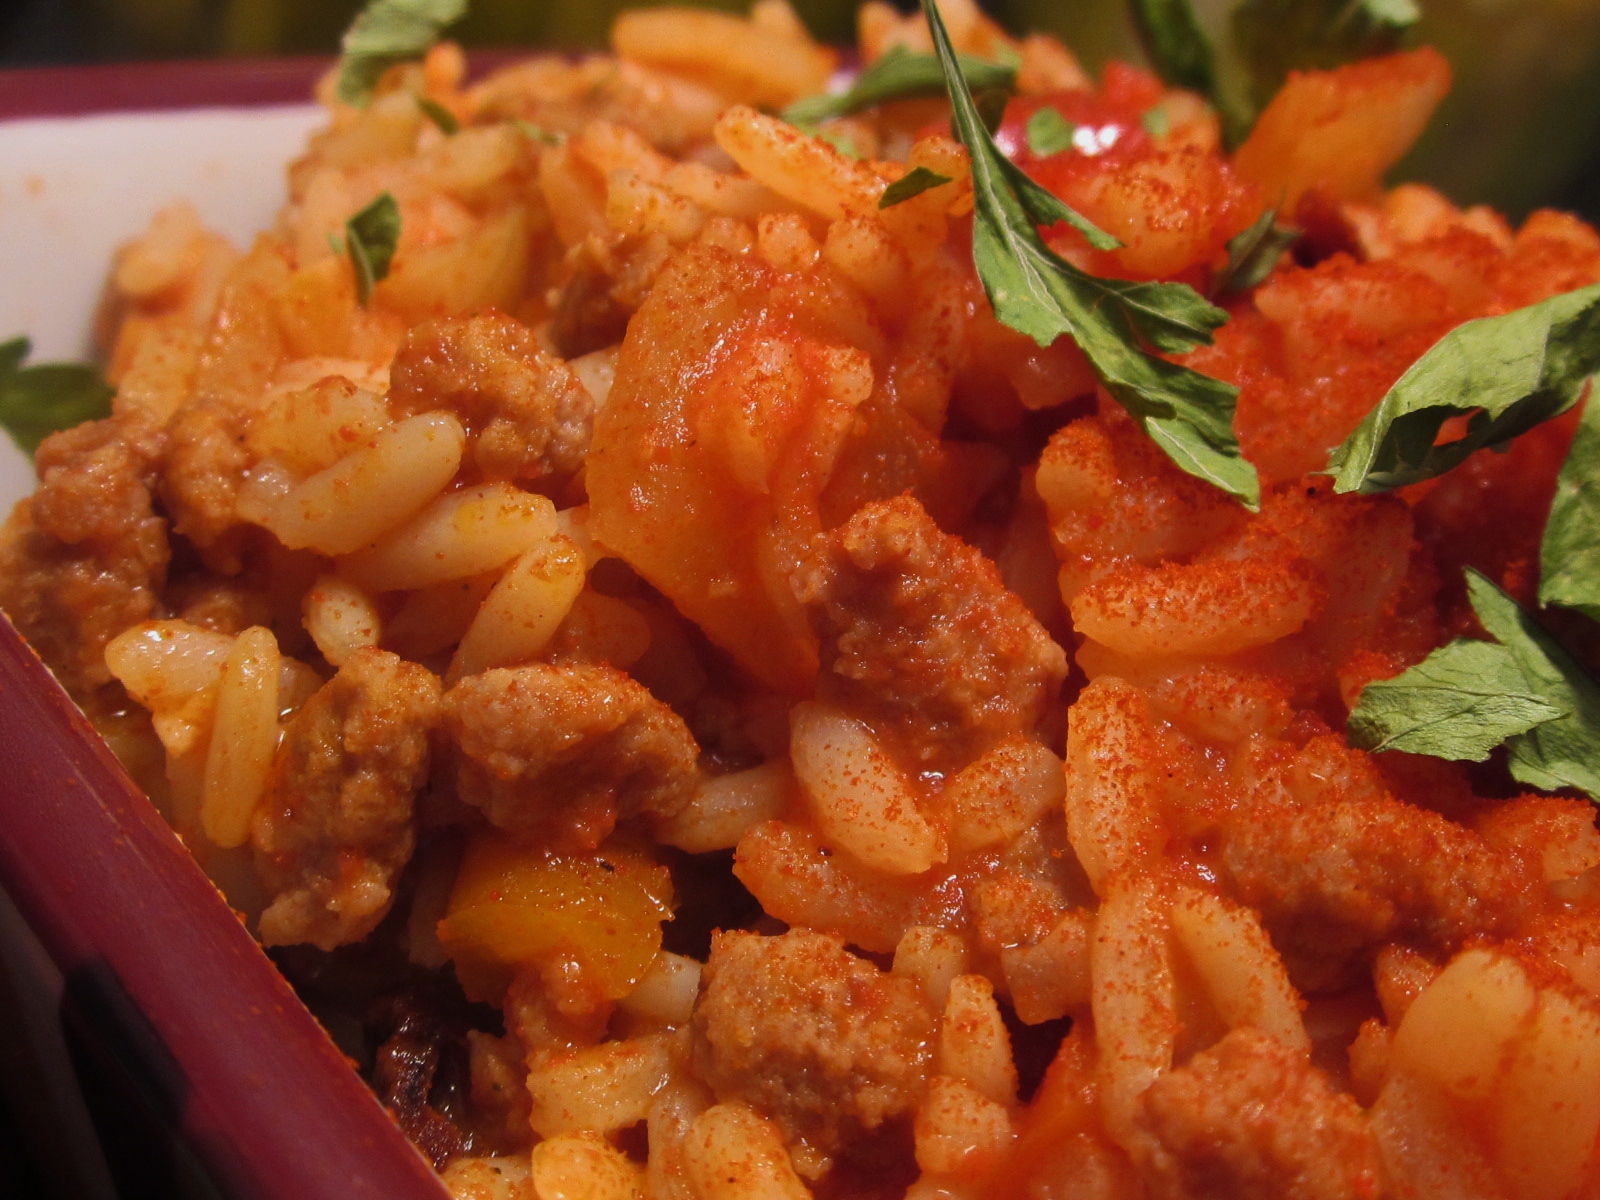
The casserole is now ready. Brace yourself for the reveal...
Creamy delicious...not too glue-like and thick...
Are you hungry yet?
Well?
There you go. Make some veggie casserole!


 Soaked wheat goes from soaked grains of wheat...

 ...and some goodies.
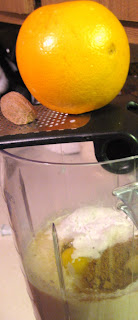 The batter cooks up just amazing!

 ...and some goodies.
 The batter cooks up just amazing!


