Showing posts with label gluten free. Show all posts

Saturday, January 30, 2016

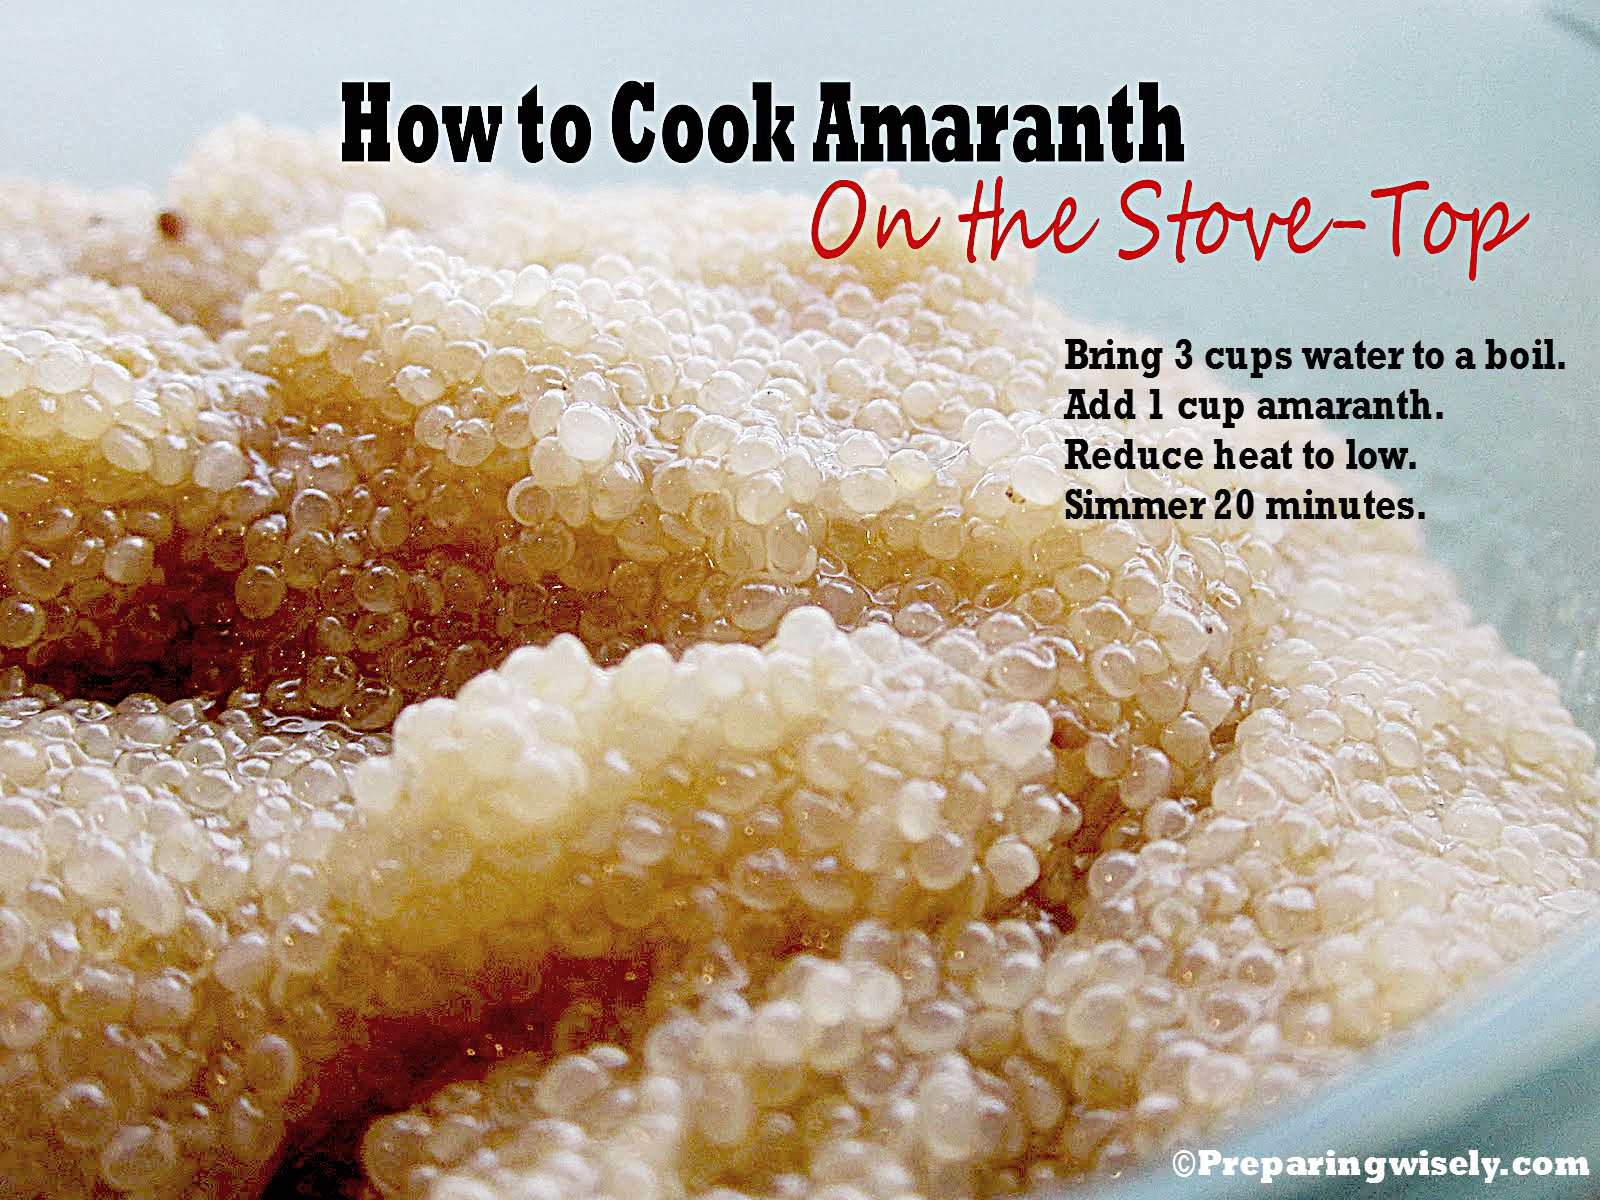
How to Cook Amaranth on the Stove Top


If you've been with me in the past you know of my absolute obsession with grains and getting to contribute here on Preparing Wisely's blog, I am going to be sharing a lot of those obsessions...as well as preparedness tips. The grain obsession started as a mild crush and now I'm totally addicted. Grain and seeds add such a remarkable depth to your meals. I'm a huge fan. So, it won't come as a surprise if I share some more basics here right? Meet Amaranth. My darling friend on the left. On the right we have brown teff.
If you've never had Amaranth, it's an amazing super-grain and one of my favorites. Now I call it a grain, but technically it's a seed. Not all seeds are grain. Only seeds that are members of the grass family can technically own the name of grain. It's a very fun and technical thing. The good news on amaranth is that it's gluten free, high in protein and has all necessary amino acids to be considered a complete protein...30% more protein than rice, wheat or oats. In it's glory, it can grow a million-ka-billion seeds (give or take). I find it  absolutely delightful and mild in flavor. It's become one of my favorites for breakfast. 
I'll simply cook it on the stove top and when it's cooked, drizzle it with a smidge of honey or even better, fold in some yogurt and fruit to the cooked grain.

It's simple to cook on the stove top. You will need a quart size sauce pan with a tightly fitting lid. Bring 3 cups water to a boil. I add a pinch of salt to the water. Add 1 cup of amaranth to the pot. Reduce heat to very low. Cover with a lid and allow the amarnath to simmer 25 minutes. The seeds are still rather small when cooked, but they look so ding-a-dang crazy-cool.
I love a little drizzle of honey. My personal favorite is a maple hazelnut honey.
Even though it looks like caviar, it doesn't taste like it. Hooray for that!

Here...now you can see it really close up.
My final note. My most recent love...freeze dried yogurt bites and freeze dried fruits folded into the cooked grain. Oh my stars. It's a creamy little nugget of joy in a sea of goodness. How's that for a cool new happy food?
There you go. Make some amaranth! 


  Always My Very Best,
Your Friend Chef 

Monday, January 11, 2016

Perfect Quinoa Cookery!


Hello darlings! This is Chef Tess!  The good folks at Preparing Wisely have asked me to start adding my thoughts and recipes to their blog and I'm excited to be back to my roots.  This is where I got started teaching classes, and yes, I will be back in the store soon for more cooking with food storage adventures.  This week I thought I'd share my thoughts on one of my favorite super-grains and give you the basics on how to cook with it.

What in the world is quinoa anyway? 2013 was declared the The International Year of Quinoa. Did you miss the memo? Are you three years late?  If you haven't yet tried this remarkable super-grain you're going to be in for a few surprises.  I hear a lot of questions about how to cook it and what to do with it.  Here's what you should know about the nutrition of Quinoa.
It is a complete protein and a wonderful source of fiber.

How do you cook it?
 You will always need to rinse and drain quinoa thoroughly in cold water before cooking, unless it is in a package that says, "pre-rinsed". I made the mistake of thinking that the rinsing was optional, and boy was it a mistake! The grain tasted bitter an horrid.  Come to find out, that it was a natural part of quinoa.  It is easiest rinsed in in a  finer meshed colander. This is a smaller grain and it will easily slip through the cracks. 


Rinsing is not an optional step. Why?

 In its natural state quinoa has a coating of saponins, which gives it a bitter taste. This bitterness can have beneficial effects in terms of cultivation, as it is a crop that is relatively untouched by birds and thus requires minimal protection. The presence of saponin is obvious by the production of a soapy looking "suds". This also represents the major antinutritional factor found in the grain. Fortunately, most of these saponins are concentrated in the outer layers of the grain (seed coat, and a cuticle-like layer) which facilitates their removal industrially by washing the grains with water. (See more here)

Basic Quinoa

2 cups red or white quinoa, rinsed well
4 cups water or chicken broth
salt to taste

Directions: 

Pressure Cooker: In a 2 1/2 liter pressure cooker add the Basic Quinoa ingredients. Bring to a boil. Seal lid and pressure at high for 5 minutes. Allow pressure to drop on its own. Store cooled quinoa in the fridge for up to a week. 

Conventional:  In a 1 and a half quart (6 cups) capacity heavy pot with a tight fitting lid, boil the water and the salt, that is when the bubbles don't stop even when you stir it. Add the grain, cover the pot, and turn the burner to the lowest setting. Set your timer for 15 minutes. Don't stir it. Just let it simmer. This will produce perfect grain every time if you follow the instructions.

Now, if you feel pretty crazy and confident, try using chicken or vegetable broth in place of the water. It will add a lot of flavor. Some people don't like a flavor to their grain, beside the grain. We also like using coconut milk in place of the water in Hawaiian dinners, along with 1/4 cup minced onion. Garlic adds a nice touch too, even just one or two cloves pressed into the broth as you add the grain.


One final note. You can use quinoa anywhere you use rice. It is also remarkable added to your baked goods in small amounts. Keep it to about 1/2 cup of cooked grain to every dozen muffins or pan of quick bread.  

See you soon at one of our Preparing Wisely Classes! Most of them are free and always very informative!


144 S. Mesa Drive Suite G, Mesa AZ 85210     (480) 964-3077


Wednesday, June 22, 2011

Buckwheat and Teff Gluten Free Blender Pancakes


I had a request for a whole grain blender pancake that is gluten free. As always, I am happy to help, as I have many friend who deal with the whole "gluten free" issue. So, I thought I'd share that buckwheat is in fact 100% gluten free! It's awesome for pancakes and a powerhouse of nutrition. It's well worth using for pancakes.  So far, I love the soak overnight method best, even though it does actually work to just put the buckwheat in the blender unsoaked. I prefer to soak, as I know that this will aid the body in digestion of the grain.  
Here's my recipe:
1 cup buckwheat (soaked overnight in 3 cups water and drained)
1/2 cup Teff (if you don't know about this whole Super-grain...it's amazing!)
1/2 cup egg whites (this makes a fluffy amazing pancake Powdered Egg Whites can be used, hydrated )
20 drops stevia (see below)
1 tsp lemon or orange zest
1/4 tsp salt

In a blender, all the ingredients.

I LOVE the stevia we carry in the store. It's got a really clean flavor. The advantage of using this, opposed to using sugar is that it won't stick to your griddle...and it won't make you fat. Okay...it's a 100% natural sweetener that doesn't cook out on the griddle so it makes a supremely lightly sweet breakfast pancakes.

Blend on high for 3 full minutes, adding more water as needed to make a smooth batter. I didn't have to use any.
Cook on a lightly oiled hot griddle 2 minutes on each side until cooked through.
Yeah! You'll need some Maple Syrup!
There you go my gluten free friends! Buckwheat-Teff pancakes! Enjoy!

Monday, May 9, 2011

Homemade Gravy Mix (gluten free)


It's mix making Monday and I have a sneaking suspicion this is one that can really save a lot of people some hard earned cash. How much do you pay for gravy mix? It's so easy to make and so painfully cheap that once you see it, you will be shocked! It only takes a few minutes to make several of these gravy mixes and from all the sauce and soup classes I have had, this is the one mix that people say they use the most. Home basic gravy is a great skill to have. I've seen a lot of money go down the drain for those store bought convenience foods like gravy mix. Why? Most of them have flat flavor, no frills. If you look at the ingredients list, it seems like it could be much shorter. Am I right? This mix I make is still loaded with good complex flavors, but it's also quick. It's a good marrying of basic meets a bit of gourmet. My gravy isn't super thick like pudding. It's thick enough to coat the back of a spoon nicely. If you want thicker gravy, you will need to double the flour. For the best complex flavor I add my all purpose seasoning in place of the pepper, thyme, and celery seed (there's a lot more spices and herbs in mine). I always use the bay leaf. It not only adds great flavor, but is a natural deterrent for bugs. Not that it will be sitting on the shelf that long. If you prefer to use prepared stock in place of the bullion, it will be awesome! I use ultra gel because it is a sauce I can freeze well in casseroles. 

Chef Tess Basic Gravy Mix (gluten free)¼ cup Ultra gel
3T beef or chicken stock granules, MSG free low sodium
2T onion powder
2T garlic powder
1/2 tsp ground celery seed
1/2 tsp black pepper
1 tsp ground thyme
1 bay leaf
Mix Directions: Place all ingredients in a half pint seal able jar. Repeat as needed however many mixes you want to make. Please note, this mix makes 8 cups of gravy.
To prepare:
Whisk mix with 2 cups milk or water (broth or stock if you omit the bullion), when smooth add 6 more cups of milk, water or stock. Simmer over medium heat stir occasionally 10-15 minutes.

Individual smaller gravy:
1T ultra gel
2 tsp bullion (MSG free)
1T onion powder
1/8 tsp ground celery seed
1/4 tsp ground thyme
1/8 tsp ground black pepper
1 bay leaf
To prepare small batches:
Whisk mix with 2 cups stock or milk in a medium sauce pan with a heavy bottom. Simmer over medium heat 5 minutes.

Get the printable pdf version of this recipe here.

Monday, March 21, 2011

Black Quinoa 101--how to cook it and where to use it.

I want to share something amazing, as I know that a lot of people have "toppers". That's a sauce with veggies or whatever...over rice.    It is one thing to have the freezer meal rice topper on rice, but another world to have it on a whole grain like quinoa or barley. I'm a huge fan of the Solar Cooked Fire and Rain Barley Pilaf as a base for soup or as a meal on it's own if we're talking grain. I have a long way to go adding a ton more on the subject of whole grain here on the blog. I hope you don't get sick of the new options. Variety is good. Even with grain, as it will nourish your body different ways and add another level of appreciation for good food. More than likely, my kids will at least be able to visit other families around the world someday and not freak out if they are served a meal they don't recognize. That's always good for foreign relations. So is this. Bolivia...I love you. I love your Black Organic Quinoa . Quinoa ( pronounced "keen-wah") is heaven. It has been cultivated in the Andes for more than 5000 years! Locally referred to as the "mother grain", it kept the Incan armies strong and robust. It's a protein powerhouse and considered one of the best sources of protein and amino acids by the United Nations. It's gluten free. Plus... look at it. It's just gorgeous and looks like Fall. Doesn't it? I fell in love the first grain that I ate. It is slightly nutty flavored and mild with amazing texture. Uncooked it looks like this...

The main thing to remember with quinoa cookery is to always rinse the grain. Always. It isn't optional like rice rinsing is. Quinoa will be huge wads of bitter unhappy junk in your mouth if you don't rinse it. I'm just saying...you've been warned. Put the grain in a strainer that is fine enough that the grain won't wash out.


This is how you cook it:


It will look like it has sprouted when cooked. It isn't sprouted. Just cool.

Because herbs freeze beautifully, I add a few from the garden.
This batch ended up like a fusion of Provence France and the Andes mountains. If that's possible--I'm eating brie with it. I'm using herbs that are traditionally combined for a classic French meal. Dill, parsley, tarragon, rosemary, thyme, basil and oregano. This with a subtle hint of lavender petals and some fresh squeezed lemon juice. Salt and pepper to taste.
Personal taste will vary and your preference for herbs may be different. As a general rule, I use about 1/4 cup chopped herbs to 2 cups cooked grain.
Put 2 cup portions in pint size freezer bags or containers and remove as much air as possible. Freeze laying flat for maximum freezer space.
Defrost in the fridge or in the microwave out of the bag. Heat 2-3 minutes microwave or add to your favorite soup or casserole in place of rice.

There you go. Explore a new grain this week.

Monday, June 28, 2010

Healthy Coconut Rice Breakfast Dish (Troy Adair)

This recipe comes to us from Kara Bagley.  Kara has amazing culinary skills and she posts her wonderfully healthy recipes and insights at her blog Taste is Trump:  http://goodlookingcook.blogspot.com/

When my wife first made Coconut Rice for us I was a bit skeptical about the taste.  I love sweet brown rice in our Asian inspired dishes, but in a breakfast dish???  I wasn't sure I was going to like it.  Plus, I am not a big breakfast eater to begin with.  However, after two heaping bowls of this dish I was happy and satisfied.  I felt great all day and really didn't need much in the way of lunch.

Without further fanfare, here is the recipe:

1 teaspoon Real Salt

3 Cups Sweet Brown Rice

1 Can Coconut Milk

2 Cups Blueberries

Toppings:

Walnuts, coarsely chopped

Unsweetened Shredded Coconut

Pure Maple Syrup

Bring 6 cups water to a boil, add salt and stir in rice.  Bring back to a boil, place lid over pot and then turn down to simmer.  Allow to simmer for 45-50 minutes.  Stir in coconut milk into the rice.  Serve up in bowls and top with blueberries, shredded coconut and maple syrup to taste.